Installing Glances Monitoring Tool on Debian Bookworm

Table of contents
glances is an open-source monitoring tool for linux and is very similar to htop. There are a few advantages of using glances over htop such as:
- Exposes a web interface for remote access.
- Exposes an API which can be used to create widgets for webpages.
- Provides comprehensive status of the system including storage space, network speed and connections, disk i/o, etc.
For more info on glances and for their official docs, read here and here.
Installing glances on Debian.
The default debian package repository has glances in it, but it is a very old version (3.3.1.1, as of this writing) and debian is not known for pushing out regular updates. To continue having support and missing out on new features, it is recommended in their docs to install glances via pyPi.
Ususally this would mean installing with pip, however, since Debian 12, we are faced with the following error when using pip:
error: externally-managed-environment

× This environment is externally managed
╰─> To install Python packages system-wide, try apt install
    python3-xyz, where xyz is the package you are trying to
    install.

    If you wish to install a non-Debian-packaged Python package,
    create a virtual environment using python3 -m venv path/to/venv.
    Then use path/to/venv/bin/python and path/to/venv/bin/pip. Make
    sure you have python3-full installed.

    If you wish to install a non-Debian packaged Python application,
    it may be easiest to use pipx install xyz, which will manage a
    virtual environment for you. Make sure you have pipx installed.

    See /usr/share/doc/python3.11/README.venv for more information.

note: If you believe this is a mistake, please contact your Python installation or OS distribution provider. You can override this, at the risk of breaking your Python installation or OS, by passing --break-system-packages.
This error can be bypassed by using pip install glances [web] --break-system-packages, or by installing glances via pipx.
Both of these methods are explained below.
Installing glances upto Debian 11 using pip.
To install glances, first we need to have pip installed.
1. Update the packages to the latest version
sudo apt update
sudo apt -y full-upgrade
The -y is to skip the confirmation the installer asks you before installing packages.
2. Install pip and python3-dev
sudo apt -y install python3-dev pip3. Install glances
pip install glances[web]the [web] is to install the web-ui dependency too. Using just pip install glances would only install the tool to your local system and it will not be accessible on the network. For a list of all other optional dependencies, click here and scroll down until you see optional dependencies. To install all the dependencies use, pip install glances [all]
4. Now, we can check that glances is working, by running the command
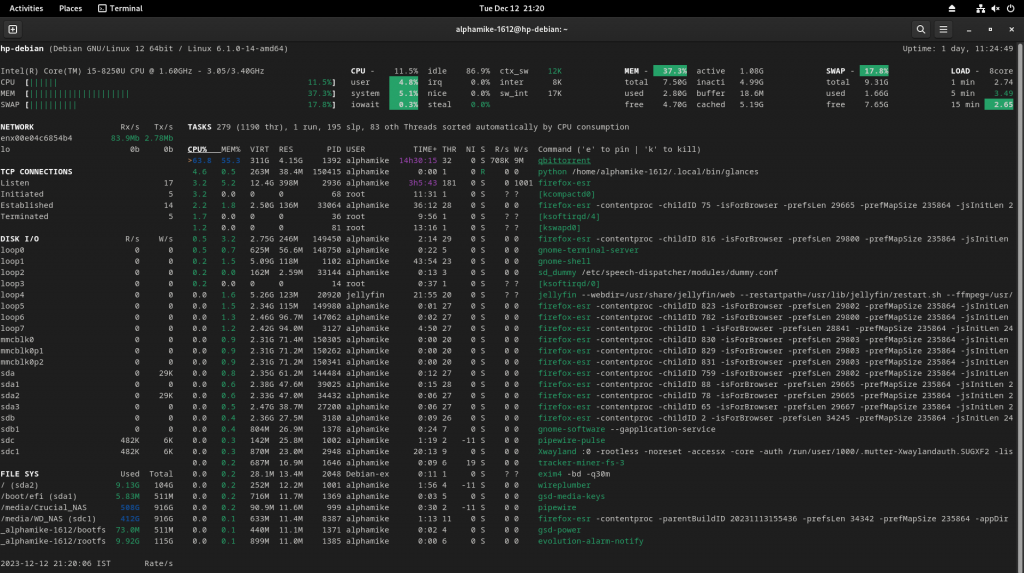
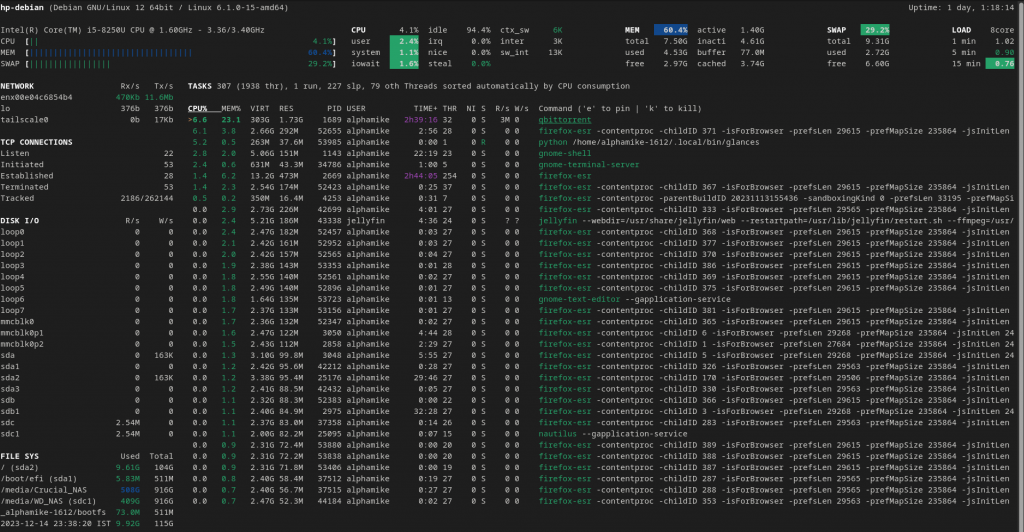
glanceswhich will give an output like this

5. To check that the web-server is working, we can run
glances -wThe -w informs glances to enable the web-server.
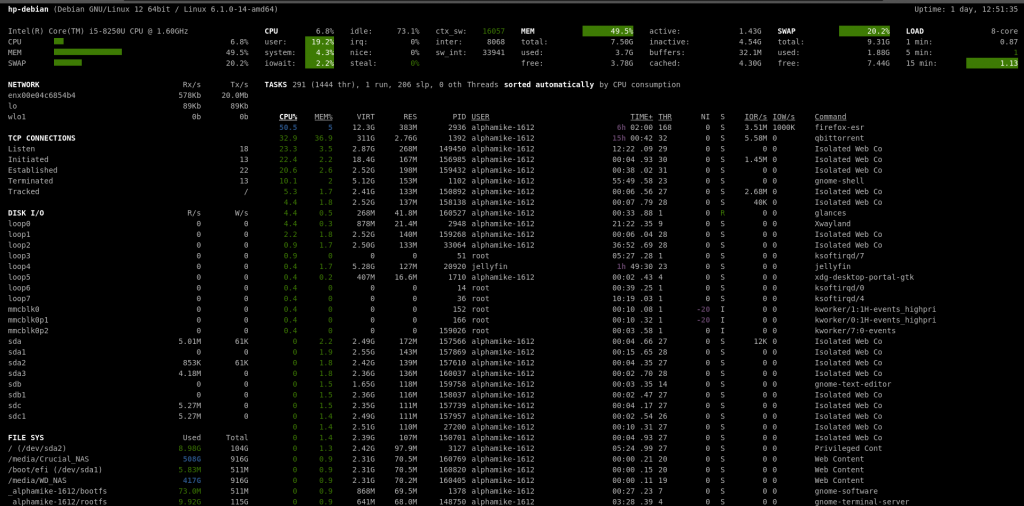
Open a browser window and go to <IP of device>:61208 (Don’t worry, the port can be changed later)
This will open a page that looks something like this.

6. Finally, we need to create a systemd service to run glances automatically on boot.
Create a service file called glances.service in /etc/systemd/system
sudo nano /etc/systemd/system/glances.serviceInside the service file, add the following details
[Unit]

Description = Glances Web Server. Displays system status and information on a webpage.

After = network.target

[Service]

Type = simple

User = alphamike-1612

ExecStart = /home/alphamike-1612/.local/bin/glances -w

Restart = on-failure

RestartSec = 5

[Install]

WantedBy = multi-user.target
Remember to change the path of ExecStart as applicable in your case. To find the path of a command, use which. For example, which glances will give an output such as /home/alphamike-1612/.local/bin/glances
7. After creating the service file, we need to enable it and then test that it works.
sudo systemctl enable glances.serviceWe then reload the systemctl daemon to pick up the new service file and finally start the service.
sudo systemctl daemon-reload
sudo systemctl start glances.service
Running sudo systemctl status glances.service should show the following output.

Congratulations, glances is now successfully installed on your system and will be enabled at boot. To learn about how to change the port number or other customization options, read below.
8. To uninstall glances, simply run the command
pip uninstall glances[web]This will completely remove glances and any associated dependencies.
Installing glances on Debian 12 using pipx.
To install glances, first we need to have pipx installed.
1. Update the packages to the latest version
sudo apt update
sudo apt -y full-upgrade
The -y is to skip the confirmation the installer asks you before installing packages.
2. Install pipx, python3-dev
sudo apt -y install pipx python3-dev3. Ensure path of pipx is picked up by the system.
pipx ensurepath4. Install glances
pipx install glances [web]The remaining steps are similar to the pip installation (checking that glances and the web-ui work, creating and enabling a service file,and verifying it works.
5. To uninstall glances, installed by pipx, run the command
pipx uninstall glances[web]Killing a service and other interactive commands
Since, glances v3.1.6, it is possible to kill a service in the standalone mode(directly on the terminal). To do so, select a service and press the k key. Note that this will only work in the terminal and not the web UI. However, there are other interactive commands that work in both standalone and web-ui, check them out here.
Customization Commands
There are several customization commands, here’s the full list. Below, I’ll discuss a few of the most important:
- -p or –port <port> – This defines the port that glances binds to, by default it’s 61208, but can be changed to any port of your liking.
- -B or –BIND <IP> – This defines the IP that glances binds to, by default, it binds on all available networks.
- –username – This defines the username for glances. This can be used with the password option to setup a user and password, which will be required when using the web-ui. When running this command for the first time, you will be asked to create a password.
- –password – This defines a password for the selected user for glances. Can be used only with the –username option.
There is also a configuration file in ~/.config/glances. This contains your username, password and any other customizations (if used). If it doesn’t exist, you can create one and define values there instead of using the command line. For more info about the config file, see here.
Also check, ~/.local/lib/python3.9/site-packages/glances (for pip) and ~/.local/pipx/venvs/glances/lib/python3.11/site-packages/glances (for pipx)
Logs are available at ~/.local/share/glances.
For pipx, they will be at ~/.local/pipx/venvs/glances/lib/python3.11/site-packages/glances.
Hope you enjoyed reading this and were able to install glances. Please comment below if you face any difficulty and I will try to respond at the earliest.